Quick Start
Introduction
This document will detail everything you need to know about editing the new Winston sites! Everything has been designed for ease of use and efficiency.
The website uses a plugin called Elementor. This plugin is the backbone of all of the layout and styling. It is very simple to use and eliminates the need for any coding knowledge! So let’s get started.
Getting Around Elementor
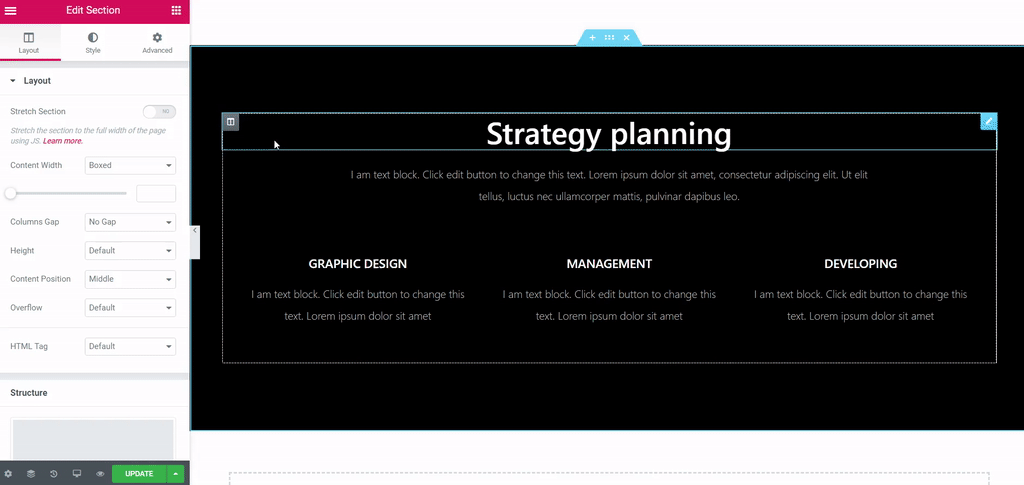
Document Settings
With Document Settings, you control some basic and useful WordPress settings.
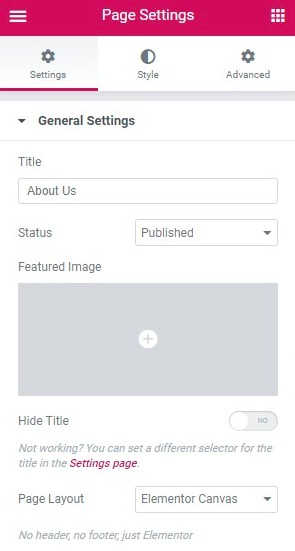
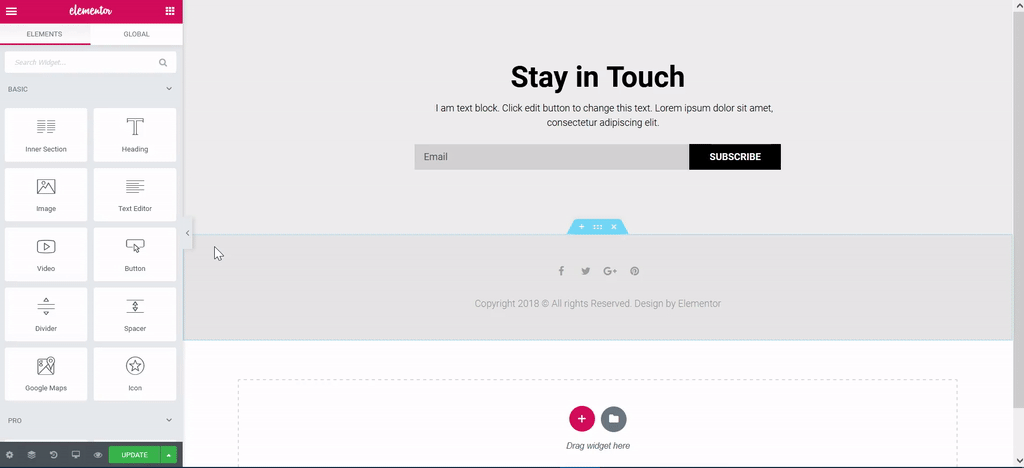
Click on the gear icon ![]() located at the bottom left of the panel.
located at the bottom left of the panel.
Settings tab
General Settings
- Title - Change the title
- Status - change the status (Draft, Pending, Private, Publish)
- Featured image - add a featured image
- Hide Title - Slide the switch to hide the title
- Page layout - Choose between the different layouts (Default, Elementor Canvas, Elementor Full Width, etc.)
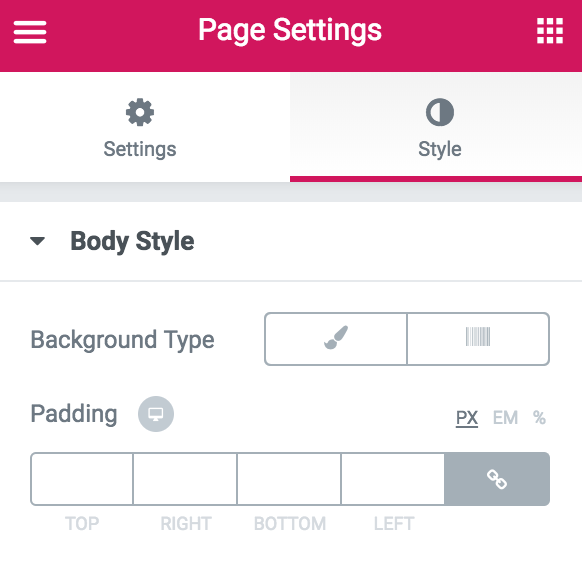
Style tab
Body Style
- Body style - choose between color, gradient, or image background
- Padding - add padding to the document
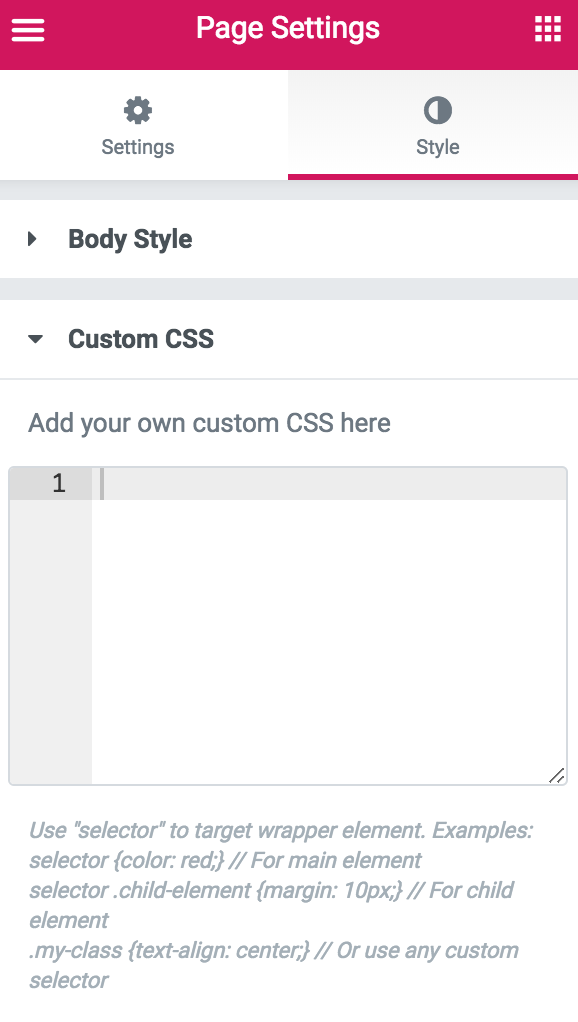
Custom CSS
- Placeholder for your document’s custom CSS
Style & Settings Configuration Menu
A click on the top left hamburger icon in Elementor will open Elementor's Style & Settings Configuration menu. Here, you can set Elementor's Default Colors, Default Fonts, and the color palette for the Color Picker. You can also change various global settings and navigate to other areas of the site.

Style
- Default Colors: Customize the primary, secondary, text and accent colors in Elementor
- Default Fonts: Automatically selected fonts for primary and secondary headlines, body text and accent text
- Color Picker: Choose which colors will appear in Elementor's color picker pre-set.
Settings
- Global settings: Choose the editor's font fallback, the content width, widgets space, stretched section fit to, page title selector and the lightbox settings.
- Dashboard setting: A link to the Elementor setting. Described in detail here
- About Elementor: A link to Elementor.com
Go To
- Finder: Opens the Finder to quickly find and navigate to another area of your site
- View Page: Opens the current page, in live mode in the browser.
- Exit to Dashboard: Exits to the WordPress editor of the current page or post.
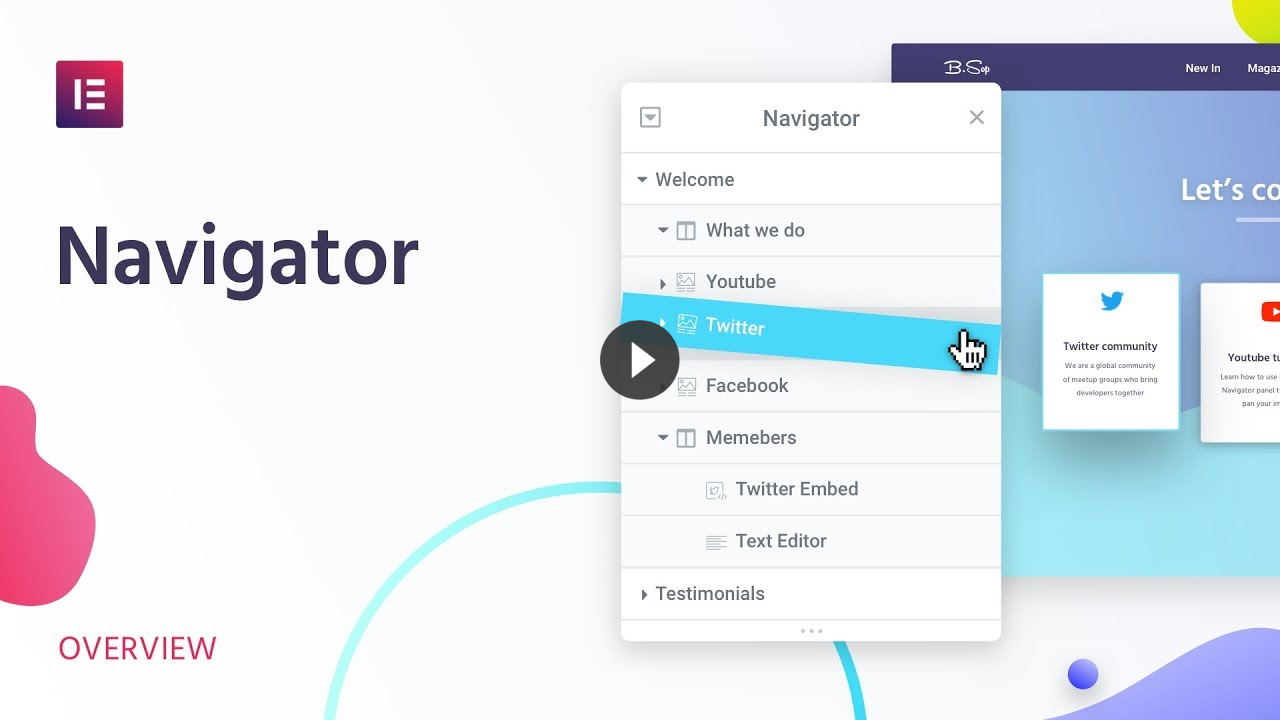
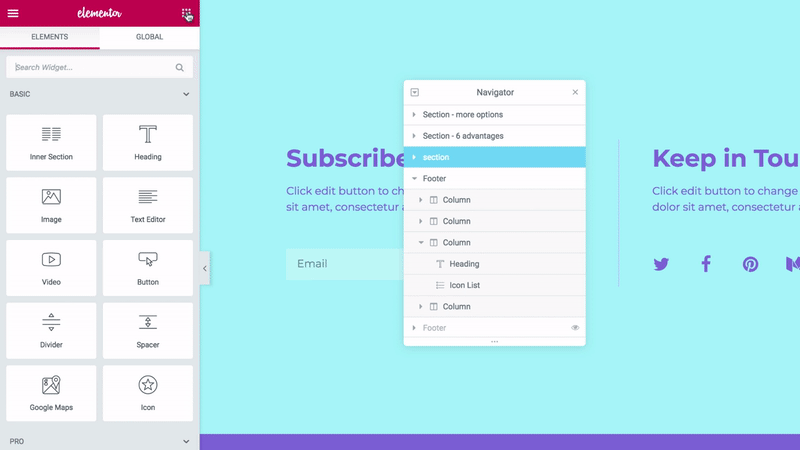
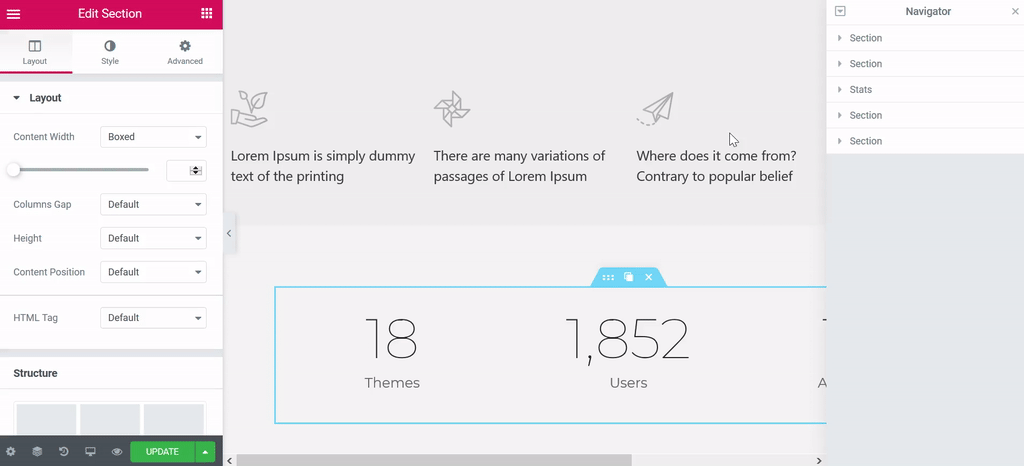
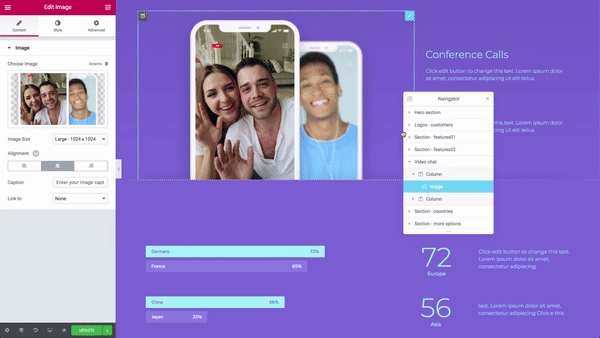
Navigator
In Elementor Version 2.2 added a useful design feature to help you clear your pages clutter.
Navigator is a navigation tree panel providing easy access to every element on the editor with just one click. Navigator enables the user to drag elements throughout the page and edit them, quickly and easily.
Navigator is particularly useful for long pages or pages with complex multi-layered design, and for elements combining Z-Index, minus margin, position absolute, etc. It allows you to access element handles that may be positioned behind other elements.
Access Navigator
You can access Navigator in one of 3 simple ways:
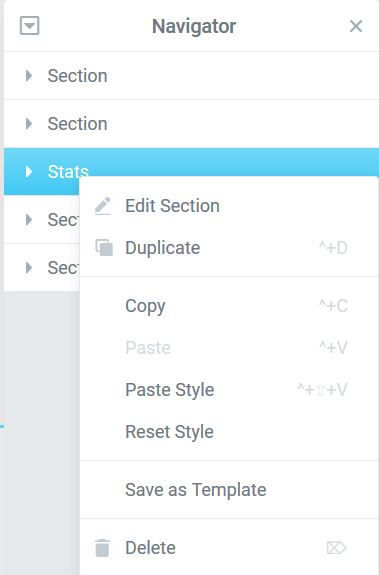
- Right-click any element and then click on Navigator. This will automatically redirect you to the specific element in the navigation tree.
- Click on the elements button
 in the panel's footer.
 - Use the Cmd/Ctrl + I keyboard shortcut.
Choose an element to edit
Click once on any element to immediately scroll to its Edit panel.
Rearrange elements
Drag any element up or down and drop before or after any other element.
Right-click options
Right-click an element to enable all of its normal right-click menu options, such as Edit, Duplicate, Copy, Paste, etc.
Hide / Show elements
Click the element’s View button ![]() to show or hide the element, enabling you to better focus on design.
to show or hide the element, enabling you to better focus on design.
Note: This will not affect the front end of your website.
Name elements
- Double-click the element name. The area will change to a blue highlight, indicating you are in insert/edit mode.
- Type a custom name to help you easily identify the element at a later time.
Collapse/Expand one element
Click an individual element’s arrow button to expand or collapse that element.
Collapse/Expand all elements
Click the up ![]() or down
or down ![]() arrow button in the upper left of the Navigator panel to expand or collapse all of the elements at one time.
arrow button in the upper left of the Navigator panel to expand or collapse all of the elements at one time.
Position Navigator panel
Float
Drag the Navigator panel anywhere on the page
Dock
Pin the Navigator panel to the side of the screen by dropping it inside the vertical blue drop zone that appears when the panel is dragged near the right side of the screen.
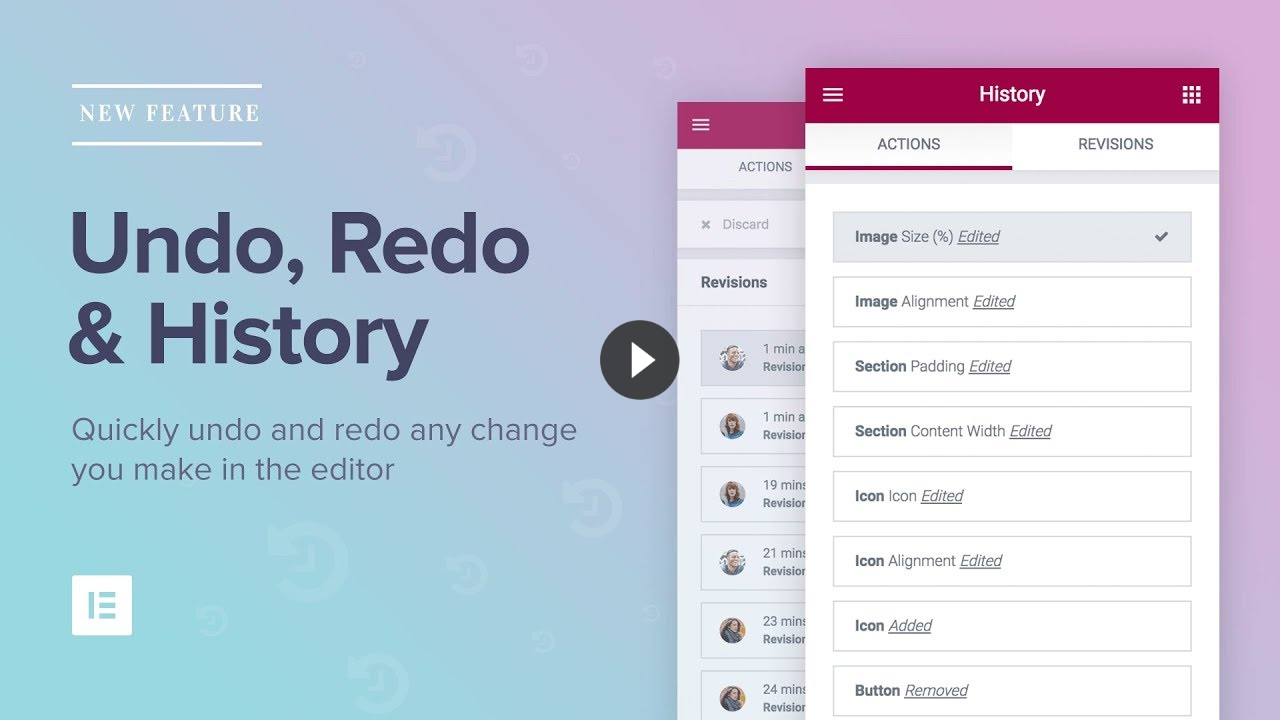
Revision History, Undo and Redo
Elementor includes a built-in Revision History, as well as Undo and Redo. With these features, you get a log for every action and save made on the editor.
The history panel is accessed by clicking on the ![]() icon at the bottom of the panel.
icon at the bottom of the panel.
This will open the History panel, that includes Actions and Revisions.
The Actions Tab
The Actions Tab logs every 'action' you make in Elementor.
Browsing and clicking on the Actions list will let you trace back your steps. You can move back and forth between actions.
Each item on the Actions list includes the name of the element and the type of change, whether it is an addition or an edit.
At the bottom of the Actions list, you’ll find when 'Editing started'. If you want to go further back, switch to the Revisions Tab.
The Revisions Tab
Everytime a page updates, a new revision is created.
You can switch between revisions and revert back to any previous one saved.
Each revision item lists the date, time and creator of the revision. Click on Apply to apply the revision on the current page. Click on Discard to return to the current version of the page.
Read the complete post about History here.
Undo / Redo Keyboard Shortcuts
You can also use CTRL-Z (Windows) or CMD-Z (Mac) to undo your last action and CTRL-SHIFT-Z or CMD-SHIFT-Z to redo your last action.
How to Delete a Widget
There are two easy ways to delete a widget from an Elementor column. In this example, we’ll first delete the widget from the Navigator. Then, we’ll use History to undo our deletion. Finally, we’ll delete the widget again from the Edit Widget handle.
Delete A Widget From The Navigator
- Click the Navigator icon
 to open the Navigator.
 - Find and select the widget element you wish to delete.
- Right-click the element and choose Delete from the drop-down selections.
Delete A Widget From The Widget’s Handle
- Right-click the widget’s Edit Widget handle.

- Choose Delete from the drop-down selections.
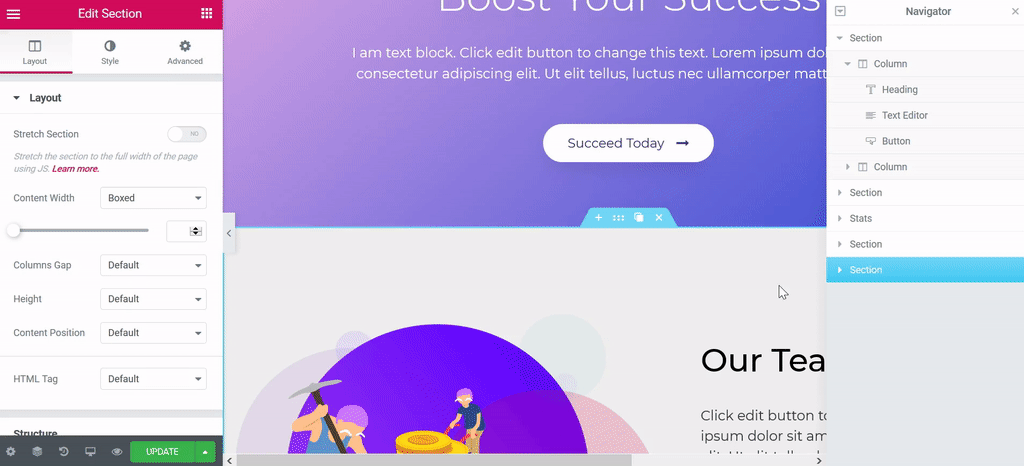
How to Move Sections in Elementor
It is very easy to move an Elementor section above or below another section, in either one of two ways.
Drag and Drop The Section Using the Navigator
The Navigator is a quick and easy way to move sections, and is often preferred, since you don’t have to drag the mouse far up or down a page. Access the Navigator in one of three ways:
- Click on the Navigator button
 in the panel's footer, or use the Cmd/Ctrl + I keyboard shortcut.
 - Alternately, you can right-click any element and then click on Navigator. This will automatically redirect you to the specific element in the navigation tree.
- Once the Navigator is open, left-click and hold the mouse button down on the section element you want to move, and drag it up or down, dropping it before or after any other element.
Drag and Drop The Section Via The Section Handle
- Click and hold your left mouse button on the handle of the section you wish to move.
- While you continue to hold the mouse button down, drag the section to its new location.
- When you see the blue line appear in the correct place, let go of the mouse button. This will place the section into the blue drop zone. The move is now complete.
Creating and Editing in Winston's
Editing and adding elements to the website is simple. Elementor is designed for the end user, meaning there isn't any code you need to learn! Everything is set up in a drag and drop format with easy controls for where objects go, and what they look like.
Editing a Page
- In the Wordpress Admin Menu; Select "Pages" from the side navigation
- Find and select the page you would like to edit.
- In the page's back-end, select "Edit with Elementor"